Tuesday, 25 March 2014

Machine Knitting day - 17th March 2014

Went to knitting again today.  Lydia had been given a machine the same as mine as she suggested I might be able to put the two together to get one good one.  So this is what today was about.  

I set up the spare machine but encountered difficulties when I tried to cast on.  I swapped the                      bar but this didn't help the problem of the cast on not working as it should - the carriage was jamming.   I tried various solutions with Lydia's help but to no avail.  I suggested to Lydia that I use my machine as a base one and any parts from the other one.   So I set about using my machine to cast on but had difficulties.   Exasperated, I spoke to Lydia again and she advised she would be selling some of her machines from another class she runs that is closing so I decided I would have one of those.    My existing machine and the spare will though go to a good home.   Someone recycles them, does them up and they get passed on to a charity.

Lydia subsequently allowed me to use two different machines - one the same make as my current one and the other a Brother to see which one I preferred.   I had no preference really as they both worked as they should which to me was exciting after 3 weeks of trying to get samples from one machine! 

I have settled on a Brother machine which Lydia will bring in for me next week.   I do not know yet how much this will cost.   All I know is that when I went onto her machines today to use them, it was so much easier because it was a machine in good condition.

What have I learnt today?   Sometimes you have to know when to stop trying to make things work and accept the solution that is being offered even if it means spending a little more money.

I don't feel any of my time spent so far has been wasted as I have been finding out how the machines can be taken apart, cleaned, put back together and how to get started.   I have also made a very useful contact in Lydia, who is very passionate about knitting to help me.

Today I did produce the sample below which is created using the fairisle setting on the machine.  Fairisle is I believe the only setting which enables you to use two or more colours together.   I also used a punch card and it is the punch card that creates the vertical pattern shown below.

By setting hte machine to Tuck stitch, I have created the diamond pattern below.   The actual pattern is clearer using two colours.

I have learnt that when using a punch card, I need to clip the card together otherwise when it comes to the end, it will stop, however if I clip it together it goes round continuously.

This is a piece produced using two colours and a punch card which has the pattern on it 
This is an example of a punch card.  I do have blank ones where I can create my own pattern
(http://media-cache-ec0.pinimg.com/236x/c3/75/ac/c375acf6ce0966321441a076fb49fc20.jpg)

as above but this has the addition of the tuck stitch
http://www.theknittingcloset.com/prod_images_blowup/Machine_Parts_-_Punch_Card_Clips_004.jpg


I have now spoken to Lydia as I couldn't go to class yesterday due a gas emergency.  I have however arranged to visit her on 7th April as there are no classes now until end of April due to half term and other plans for the group so Lydia is giving me her time to go and get started on my work and then I will be able to have a working machine at home.   She is charging me £25 which is affordable.   

From typing up this reflection, I have realised that i'm not sure whether I have used two different punch cards to get two different patterns.  I thought I had changed the setting to Tuck stitch to get the diamond two colour pattern, however now I'm not sure.   I therefore need to ensure I write down at the time what setting I am using.   Partly this is due to excitement at actually producing something as it's quite an achievement but also it's me thinking i'm listening to Lydia, which I am, but then i'm not really taking in what she is telling me.   Therefore, writing it down is essential if I want to produce the same pattern again without having to ask for help each time. 


Wednesday, 19 March 2014

Self Promotion Project

This project involves  creating my identity so the first thing I have done is look at me, Tracey Harris.  What do I do?  What do I create?   Am I a designer?   Am I a fine artist?  What is my style?  What colours represent me?


I have approached this project in a methodical manner, reading the brief and highlighting areas that I need to action.   Mind maps and research followed.  My research found logos, websites and identities that I was attracted to and that I felt showed the artists' work i.e. Caren Garfen's website is clean, white and crisp as is her work.
Caren Garfen website


I feel I am a multi media artist, not a designer.  My style is colourful and naive.  The media I use includes textiles, photography, vintage, recycling/up cycling, brown paper, autobiographical.   My logo, website, letterhead, compliment slip, packaging all needs to represent who I am as an artist.

I have made some felt using colours representing the sunset as this is a sample for my FMP.   I then photographed this felt and printed off the photograph.

Using Photoshop, I then created some sample logos using my name and initials, and using the felt as the texture of the letters/words.    This was achieved in a few simple steps (took me a few attempts to get to the simple stage!).


Fonts are downloaded and installed from dafont.com.  Some are free and therefore can be used for personal use only which is fine if I were going to keep these as samples however as I'm going to use them, I will need to either create a font or buy one.


Wednesday, 12 March 2014

10th March 2014 - machine knitting day !

Today I have been machine knitting using my very own Knitmaster 321.   I recently found a fabulous lady called Lydia who teaches knitting machine knitting in Wilnecote.   I discovered on my first session a few weeks ago why my knitting machine wouldn't work.  I learned how to clean it, how to look for problems and I started to learn what parts of the machine are called.   I also learnt how to cast on and do some knitting.  It feels like there is so much to learn about producing anything other than a simple piece of plain knitting, however I am keen to learn and produce some textured pieces.  

My machine is very old (which I wasn't aware of when I bought it).   Lydia contacted me to advise that another lady had donated a machine the same as mine and she felt we could put together a good machine from mine and the donated one - and it wouldn't cost me anything.   In addition, I have been donated a monster piece of machine called a ribber !   It's actually the same size as the knitting machine and I have absolutely no idea how it works!   I know it's rusty and that I have to bring it home next week as Lydia wants it gone!  It's a useful piece of equipment so I will find somewhere to store it for use at a future time.

Today, after several unsuccessful attempts I asked Lydia to watch what I was doing so she could show me what I was doing wrong.  She spotted immediately I was putting the needles in the A positiion whereas they should be in B.  Once cast on I created the sample piece below.   Using a punch card which contained a simple pattern, I also used tuck stitch and slip stitch which gave different effects.  When I tried to do the tuck stitch my machine jammed.  Lydia suggested we swap the carriage with the spare machine and the tuck stitch worked perfectly so I have discovered the carriage on my machine is faulty.  By swapping pieces over, I am learning how to take apart and put together the various pieces of the machines.  I learn best by doing, not by watching.

So what could I create with my knitting machine?   I have in mind a large piece replicating the waves in the photograph below.   The wool that I used was from the charity shop and I fell lucky in that it was a useful colour as shown below.  

my photograph of the ripples in the sand 

The way the stitches fell using the tuck and slip stitch unintentionally formed this wave effect which is similar to my photograph 


Monday, 10 March 2014

Initial Ideas and Sampling

So in the words of Chuck Close

Inspiration is for amateurs; the rest of us just show up and get to work. If you wait around for the clouds to part and a bolt of lightning to strike you in the brain, you are not going to make an awful lot of work. All the best ideas come out of the process; they come out of the work itself. Things occur to you. If you're sitting around trying to dream up a great art idea, you can sit there a long time before anything happens. But if you just get to work, something will occur to you and something else will occur to you and something else that you reject will push you in another direction. Inspiration is absolutely unnecessary and somehow deceptive. You feel like you need this great idea before you can get down to work, and I find that's almost never the case.” 

So that's what I've done.   Just got on with it and created the following pieces of work using watercolour, pen and ink, pastels.....


Rocks.... in order to get to the beach you had to walk along rocks .... large solid rocks, gently sloping onto the sand
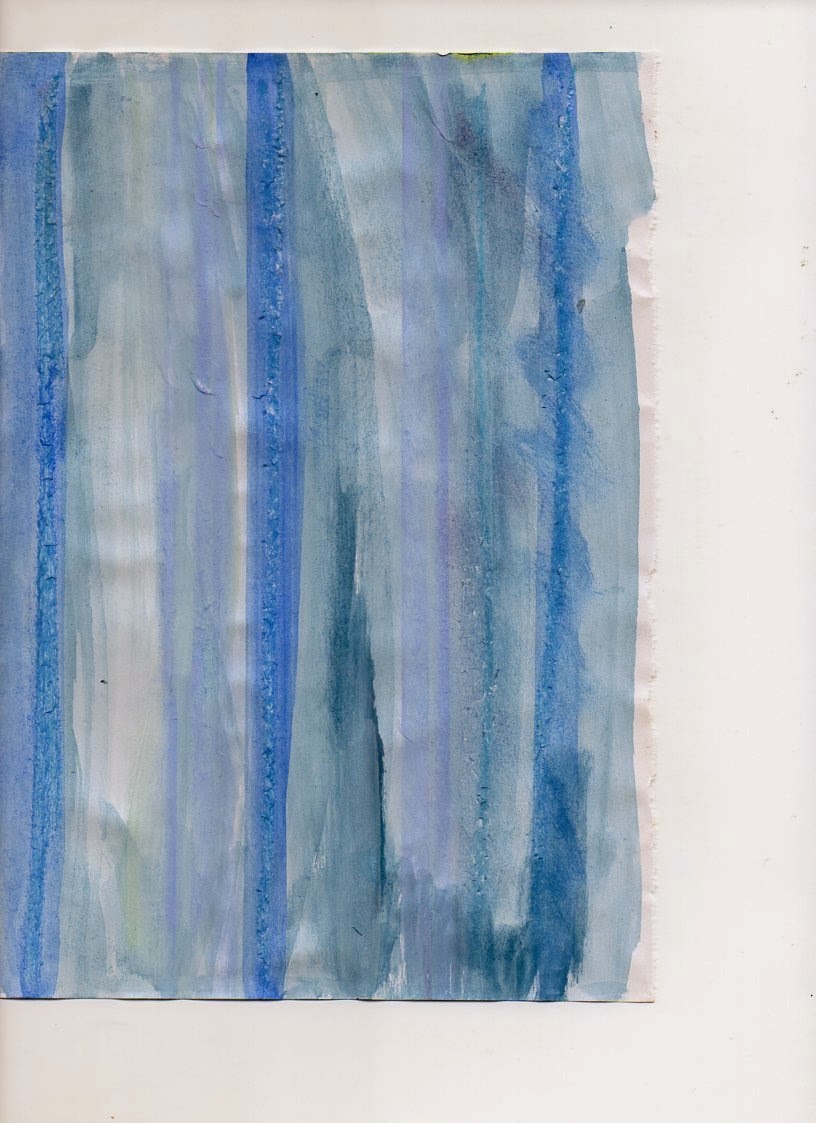
Using my scanner and then editing in Photoshop using filters I have created these two different patterns - the one above being representative of the verticals that I photographed in Both and the one below, the smoothness of the rocks.    the pink colour???   I was feeling that the rock smoothness should be represented by pink 


I visited the Derby Play and Recycling Centre and just loaded up with fabric oddments and this is a selection of them  - the background a large narrow piece of mustard fabric representing the sunset, the blue satin the sky the orange sunset and the caramel colours representing the sand.  I laid them down to photograph to see how they looked and the colours work together 


Inspired by Bridget Riley 


Saturday, 8 March 2014

Sketching and painting 7th March 2014

I have been drawing using ink and pen and also watercolour.  Just really playing around to see what happens and what comes out.   Using my photographs as primary research, I have scanned in what I have done.
photograph of an alleyway leading down to the sea 
drawn in gel pen this is an alleyway between houses leading out to the sea - looks better scanned than it does the original - what could I do with this next?   I could use text where the steps are.... which is what I have done (see below).   

Again another image leading down to the sea - I have not included the sea but more of the sky and horizon - the darker colours of greys black and orange show the sun setting 

a bundle of sea "stuff" 


Using Photoshop I have opened up the scanned images and they actually look different on screen, or I am seeing them differently, in a more positive light.   On paper they look to me a tad dull but when on screen, the lines are enhanced.  

In photoshop, I have added some colour.  Initially to the drain pipes which I coloured blue, using only 49% opacity so that the original lines can be seen under the blue.   In the middle of the picture there is a set of steps which look nothing like steps as I have been unable to achieve that look - presumably something to do with the angles of my lines.   Therefore I thought of putting foot prints on them and I opened another photograph which had my feet on it and using the magnetic lasso tool, I traced around the feet, copied and pasted into my sketch.  The impact of the feet at the size I had copied them, the tone of the flesh against the pen drawing hit me.  To me it resembled a surreal image.  I have worked on this image adding more texture from original photographs using the clone tool.  I copied rocks, sand and the sea and the effect I have printed out contains cloned wall colour and the sea and some sand where the steps are.   I have printed it onto linen fabric through my own printer.   


The linen fabric comes A4 size and has a backing sheet.  We talked about this fabric recently after I had been researching fabric business cards and Lance thought we had a printer to be able to do this and it turns out we indeed do have such a printer.  However it hadn't been used for a while, and need cartridges so Emma suggested photocopying an image onto the fabric. We actually used a cotton sheet of fabric and the photocopier produced an unexpected but interesting result and I wanted to try it on linen.  I have subsequently printed it on my inkjet printer.  I was concerned that it might get jammed but it went through the printer happily.   My printer is in need of new cartridges so the colour may be improved when I replace them.  
I can see the potential though of creating more pieces of work similar to this on the different fabrics.  The fabric is quite sheer so could be layered up.  This is something I will continue to sample.   The fabric pieces can be obtained from http://www.craftycomputerpaper.co.uk/default.aspx.  The linen fabric is around £3 per sheet and the cotton only £1.25 so there is bit of a different.   The cotton is more sheer than the linen.

This is the different types of fabric that Craft Computers can provide to print on 

The text I added first and then the feet came later however whilst creating layers, I removed the text and decided the image is more thought provoking without it.  Whilst studying for my Foundation Diploma, I remember I received feedback for a photograph project on sheds and I had in effect ruined it by putting text on each image so I am taking on board that feedback now!

I am going to now contact my peers and ask for their feedback.  What do they see?  What do they think of it?  How could it be improved?

My personal opinion is that I love the effect I have created.  It was unintentional, and from a sketch I thought wasn't any good, I have made something from it.   From here, as it is printed on linen I can stitch into it giving more texture.

Feedback from peers:  Lotty and Becky both gave feedback which really confirmed my thoughts.  The text isn't necessary.   The right foot could be cropped further around the ankle area.  The mixture of the original line drawing and then the adding of the colour in photoshop and the reality of the photo of the feet work well together.

Thursday, 6 March 2014

Sampling with sunset image - 6th March 2014

Today I set myself the task of creating a fabric piece based on three sunset photographs.  I had previously created a sample of what was in my head by putting together some fabrics as shown below and previously referred to in blog post.   I wanted to emulate the sun setting with fabric.   I had picked up some mustard coloured fabric - thick upholstery type fabric scrap from the play and recycling centre and I wanted to use this as the base for the sun setting. 


One of my previous samples in my sketchbook had been noted by Mark as being interesting and infact Emma asked me what I thought of it and I said it just looked like fabric stuck onto a page.   But no, apparently it didn't look like that to trained eyes.   So, my piece today is the next stage to the sketchbook piece, using the same fabric, but embellishing it to the sun set coloured background.  

The fabrics I have used are satin, lace, and a polyester type fabric, ribbon and some fleece.   The texture of each fabric is different.  The satin smooth and shiny, the lace delicate, soft and feminine.
I have a large pile of fabrics which I have brought with me today. 


I laid out the base fabric and 3 photographs and loosely laid on my lace, satins and other fabrics to see how it would look.  I did think about stitching it on by hand to hold in place whilst i was embellising but I decided not to do that. 


I discovered whilst embellising the lace to the fabric that the black shows up the base fabric giving the impression that the sun is behind it.   


I have used the lace to give a fluffy effect of the clouds because to me, clouds look like wool.


I have embellished large long strips of fabric one piece at a time, as opposed to many layers together. 


I don't feel I have achieved the right colour within the black area.  I was aiming to a have a lighter area where the sun is higher and where the sun is going down the black area should be darker.  I have tried to represent this by using more lace where the sun is up.  Were I to do it again, I would use lace only on the left hand side, together with a dark grey satin rather than black.  

Problems encountered were with the thickness of the base fabric in that the embellisher struggled wtih its thickness in parts mainly where the fabric has raised parts which are pattern.   So if I create a larger piece I will use a different fabric, possibly calic or linen and dye it to the colour I want which is this colour.


If I do a larger piece I would also use the sewing machine and hand stitching where necessary.  Although the embellisher gives some interesting effects i.e. scrunching up some fabrics and giving a bellowing effect on the satin.  I feel with so many layers it needs the security of some permanent stitch.

Feedback received suggested I concentrate on one sun setting as opposed to the three.  I have added more detail and texture to the textile piece using gouache to fill in areas that were slightly bare.  

My next step is to dye some heavy and light calico and create similar samples.   The calico will work easier with the embellisher.